The Ultimate Bells-And-Whistles XMPP Setup Guide
Get your friends off Discord, with a better app!
Prerequisites
You will need a domain.
While it is technically possible to set up a working XMPP server without a domain, you will be causing yourself a lot of problems later on.
You will need a server, configured with SSH logon and a static IPv4 address. It is nice, but not required, to have an IPv6 address as well.
If you’re new to Linux, servers, the command line, etc. then feel free to ignore it. If you are planning on supporting it and encounter problems, please check the debugging section at the end of this document.
We will be using the command line extensively, so if you’re new to text-based tools you may appreciate the Big Glossary of Linux Command Line Tools.
Point your domain at your server
Explained in more detail here.
Go to your droplet, and copy your reserved IPv4 address. If you do not have one, get one.
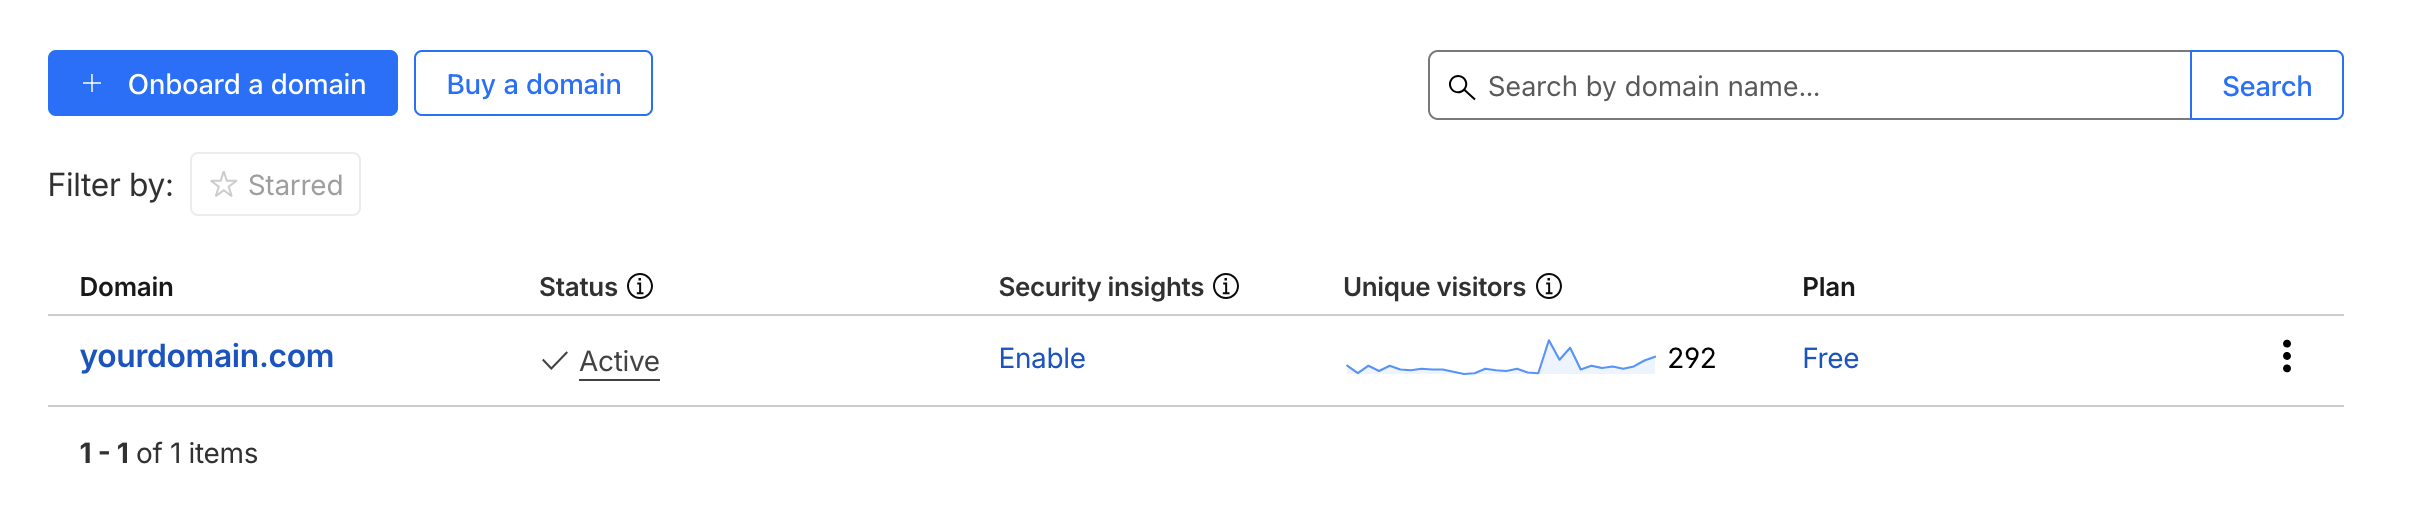
Login to your registrar. These tutorials assume you are using Cloudflare.
Click on your domain.
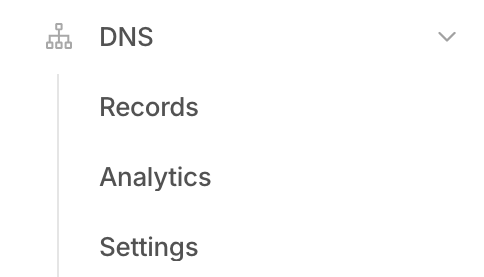
Navigate to DNS > Records
Add DNS records for your host. A is for IPv4 addresses, and AAAA is for IPv6 addresses, should you be supporting them. There should be one record for “rooms”, and one record for “yourdomain.com”, for both A and AAAA records. It should look like this:
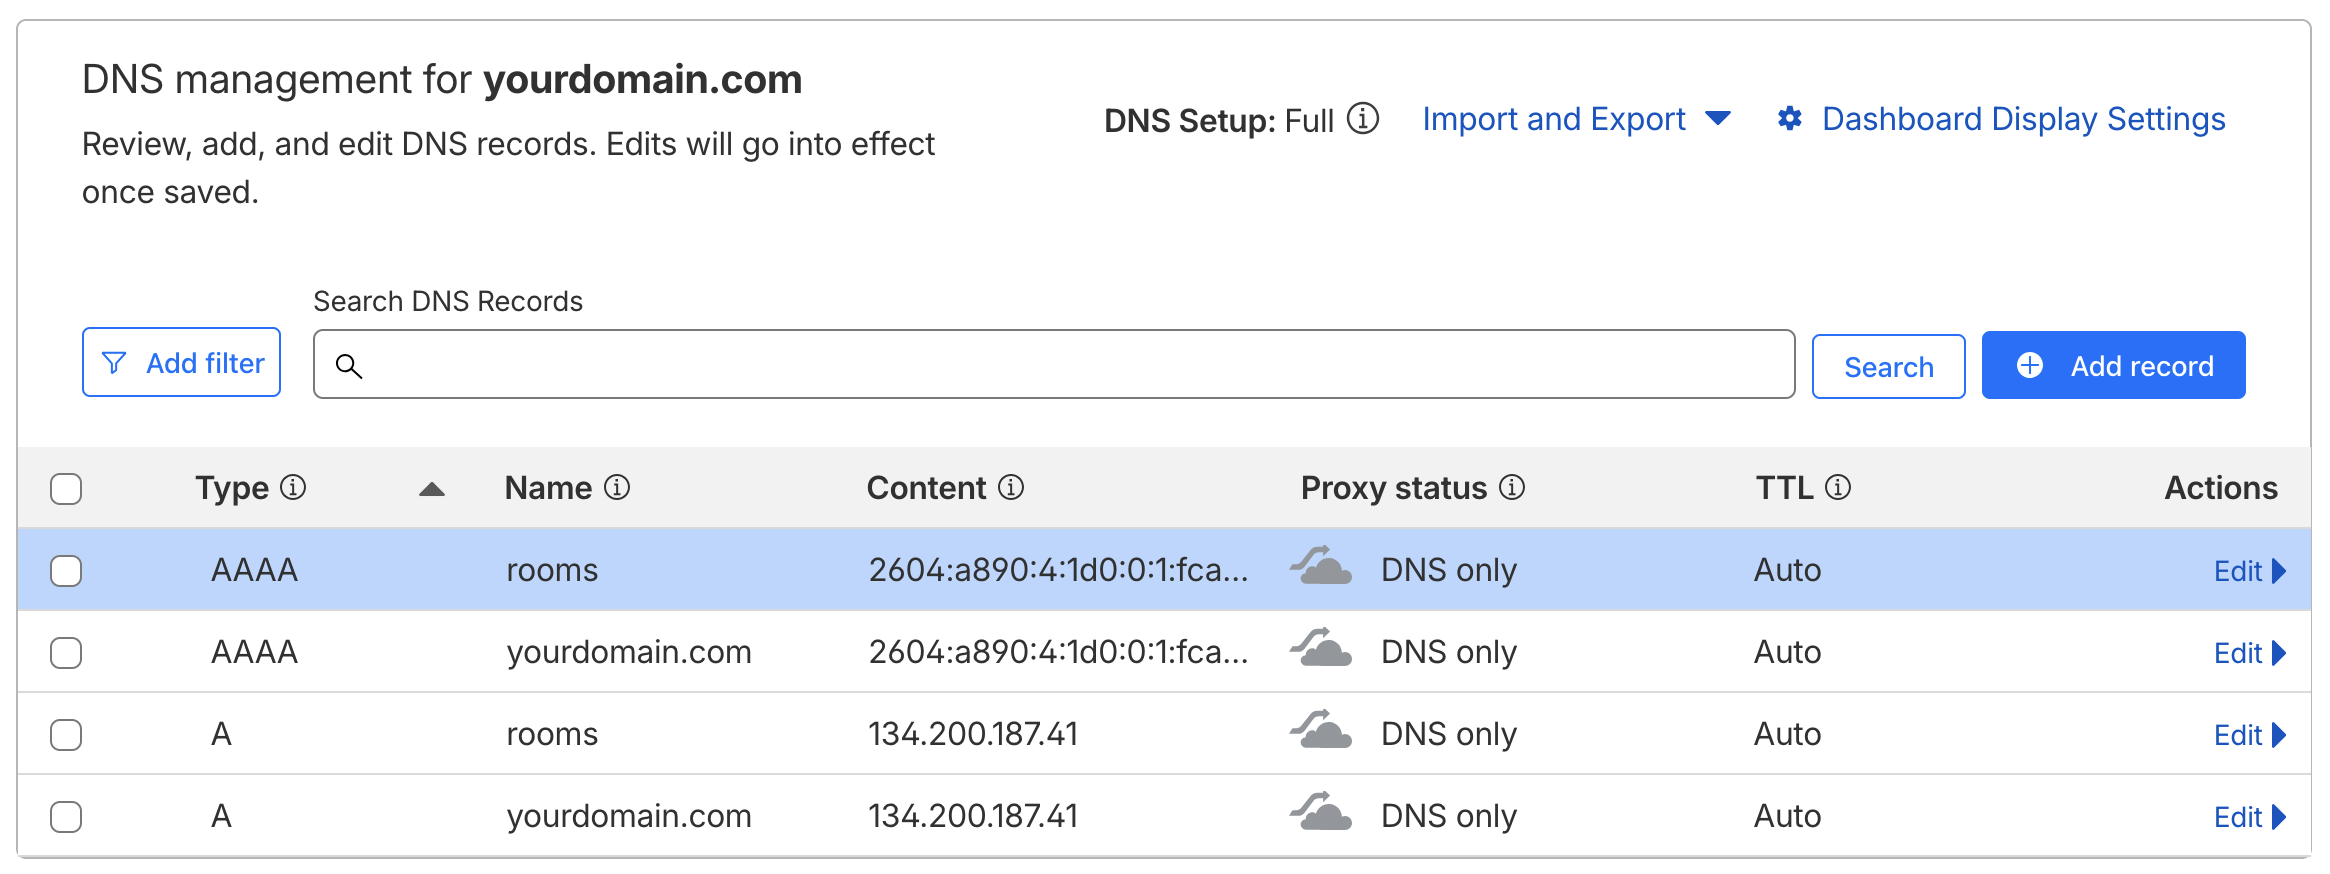
You should always be using your reserved IP address(es). Non-reserved addresses cannot be recovered if the machine is replaced. If you do not have a reserved IPv4 address, assign one to the droplet from the “Networking” tab from the droplet dashboard.
AAAA records are optional, and are only required if you are also setting up IPv6 addresses.
Make sure your proxy status is “DNS only” - The cloud should be grey instead of orange. You may receive a warning that proxying is required for performance or security features, ignore these. This are more useful for websites than XMPP servers, which need direct connections to determine how to route messages.
Install Prosody on your server
You wil need to log in to your droplet. Open your terminal, and run:
ssh root@your_reserved_ip_addressroot is the Linux system administrator account.
The first time you run this command it will say “The authenticity of host ‘your_ip_address’ can’t be established”, and ask if you want to continue connecting. Accept the host and continue.
You should be greeted by a brief message, stating your current operating system version and any important notifications.
Install Prosody and Let’s Encrypt!
Run:
sudo apt install prosody certbotGet an SSL certificate
There are two options. If you want to provide an email address to be notified when certificates are getting old, run:
sudo certbot certonly --standalone -d yourdomain.com -d rooms.yourdomain.comMake sure to replace “yourdomain.com” with your actual domain.
This command will prompt for an email address to send notifications
to when the certificate is getting close to expiration. If you do not
wish to provide one, you can add
--register-unsafely-without-email to the command to
suppress the prompt.
The certificates it generates will be placed in “/etc/letsencrypt/live/yourdomain.com/”
If you have problems, rerun the command with -v, which will trigger verbose output for debugging.
If you get the error:
An unexpected error occurred:
No such authorization
Then it may be due to DNS records not yet propagating, wait a bit and try again. DNS records can take multiple hours to be broadcast to worldwide DNS servers, but the process is normally very fast (on the order of minutes).
Give Prosody permission to read the certificates
Add prosody to the ssl-cert group:
sudo adduser prosody ssl-certSet the group for the certificates to ssl-group:
sudo chgrp -R ssl-cert /etc/letsencryptIf Prosody complains about permissions, you can use the following commands to set them:
sudo find /etc/letsencrypt -type d -exec chmod 750 {} \;sudo find /etc/letsencrypt -type f -name "privkey*.pem" -exec chmod 640 {} \;sudo find /etc/letsencrypt -type f -name "fullchain*.pem" -exec chmod 644 {} \;Later, after you have put your domain information into Prosody’s config file, you can run
prosodyctl check certsto verify they are installed and detected correctly. If you have not, it will complain it cannot find a certificate for localhost. This is fine.
Create your account
Run:
sudo prosodyctl adduser [email protected]We will be setting this account up to be a server administrator. Ignore any warnings about being able to log in, we’ll configure that next.
Configure Prosody
Edit your Prosody configuration. The easiest way to edit text in a terminal is using nano, other popular choices include vim (usually included with the OS) and EMACS (usually needs to be installed). This tutorial will assume the use of nano.
Run:
sudo nano /etc/prosody/prosody.cfg.luaThere are three sections to this file:
- A general configuration section at the top,
- a virtual hosts section,
- and a components section.
We will be configuring one virtual host (yourdomain.com) and one component (rooms.yourdomain.com, for chat room support.)
Prosody config global section
- Under “
admins”, add your account.
admins = { "[email protected]" }- Underneath, add a line for the external addresses of your server:
external_addresses = {"your.ip.v4.address", "your:ip:v6:address:if:using"}- In the modules section under “Nice to have”, uncomment
“
mam” (by removing the leading double dashes) if you want to store recent messages on the server to synchronize devices (you probably do), and “turn_external” if you plan on setting up calling. - In the same section, add “
cloud_notify” and “unified_push” if you want push notifications. - Under “HTTP modules”, add “
http” and “http_file_share” to enable image upload and filesharing. - If you are hardcore about privacy, you can put
“
s2s” under the “modules_disabled” section, which will stop your server from talking to third party servers at all.
You will not be able to talk to users from other servers with the
s2smodule disabled. If instead of blocking all connections you would like to use a server blacklist/whitelist, add “s2s_whitelist” or “s2s_blacklist.” This is fully optional, by default your server will be willing to connect to all public servers.
- Add the following after “
s2s_secure_auth”:
c2s_require_encryption = true
s2s_require_encryption = true(s2s_secure_auth = true should be the default, if it is
not enabled then enable it now as well.)
- Configure bandwidth limits. By default client-to-server connections get 10kb/s, and server-to-server connections get 30kb/s. If it will just be you and a small group of friends, feel free to bump it up.
limits = {
    c2s = {
        rate = "100kb/s";
    }
    s2sin = {
        rate = "300kb/s";
    };
}
If you enabled “
mam”, you’ll probably want the server to clear out old messages. By default they expire after one week. Edit the linearchive_expires_after = "1w"to change it. More options, including for pure in-memory storage, are listed in the Prosody documentation.Tell Prosody to use your certificates for SSL. Under Certificates, add:
c2s_interfaces = { "*" }
c2s_ports = { 5222 }
https_ports = { 5281 }
https_ssl = {
  certificate = "/etc/letsencrypt/live/yourdomain.com/fullchain.pem";
  key = "/etc/letsencrypt/live/yourdomain.com/privkey.pem";
}
Make sure to replace “yourdomain.com” with your actual domain in all certificate-related operations.
Prosody config Virtual Hosts section
- Configure Virtual Hosts and Components
Set up the Virtual Host certficates.
VirtualHost "yourdomain.com"
  enabled = true
  ssl = {
    key = "/etc/letsencrypt/live/yourdomain.com/privkey.pem";
    certificate = "/etc/letsencrypt/live/yourdomain.com/fullchain.pem";
 }
While you’re here, also give yourself free Nitro. Set the
http_upload_file_size_limit and
http_file_share_size_limit to choose maximum file upload
sizes.
http_upload_file_size_limit = 1000 * 1024 * 1024 -- 1000MB
http_upload_path = "/var/lib/prosody/http_upload"
http_file_share_size_limit = 1000 * 1024 * 1024 -- 1000 MiB
If you are running a private server, make sure to restrict access to your domain (make sure to replace):
http_file_share_access = {
    "yourdomain.com";
}
Optional: Delete everything related to “localhost”
This is unneeded once your domain is configured. If you’d like to
silence warnings for certificate errors for localhost, you can remove
the localhost sections from the main Prosody config file. You will also
need to comment out the Virtual Host line in
/etc/prosody/confd.d/localhost.cfg.lua
Prosody config Components section
To set up multi-user chat rooms, add:
Component "rooms.yourdomain.com" "muc"
 enabled = true
 ssl = {
 key = "/etc/letsencrypt/live/yourdomain.com/privkey.pem";
 certificate = "/etc/letsencrypt/live/yourdomain.com/fullchain.pem";
 }
modules_enabled = { "muc_mam" }
default_archive_policy = true
Without this configuration your server will only support direct user-to-user chat.
Save and exit
If you are using nano, <ctrl>-O will save the file (it will ask for a filename, default is the current file.) <ctrl>-X will exit.
Verify your config file is OK
Run
prosodyctl checkto check the configuration. Prosody will report any errors it finds. Anything related to localhost can be ignored.
- If it gives an error like
A problem occurred while reading the config file {filename}

Error: {filename}:{some number}: {something expected near something}
then you likely have a syntax error. Open up the config file again and fix the error. The most likely causes are missing / extra quotation marks, semicolons, or curly braces.
- If you get errors related tog SSL, make sure you have replaced “yourdomain.com” in the examples with your actual domain name.
- If the error is complaining about permissions, run the permissions repair commands from earlier.
- If the error is related to STUN or TURN, ignore this for now. These are unimportant if you do not intend to set up voice/video chat.
Running
prosodyctl helpwill give a list of other supported operations.
Reload Prosody
systemctl reload prosody; systemctl restart prosodyTest logging in to your server
Open your chosen XMPP client, or ConverseJS for a simple web client, and log into your account. If it successfully connects, congratulations! You have a working XMPP server!
You will still need to verify the remaining functionality is working.
Test your features
Go through and test each feature: File upload, file size limits, notifications, and server federation.
To see if Prosody is loading modules correctly, you can run:
journalctl -u prosodyto see all system logs relating to Prosody. Make sure to scroll to the end to see the most recent items. You can scroll by pressing <space> to scroll one page at time, or by pressing <alt>+> to jump directly to the end.
If you see errors like:
modulemanager: Unable to load module 'unified_push':
/usr/lib/prosody/modules/share/lua/5.4/mod_unified_push/mod_unified_push.lua:
No such file or directory
then you will need to install these modules. You can install missing modules using prosodyctl:
sudo prosodyctl install --server=https://modules.prosody.im/rocks/ mod_cloud_notify(Replace mod_cloud_notify with
mod_{whatever_youre_installing})
If you get luarocks errors, it’s possibly because you need to install luarocks:
sudo apt install luarocksDepending on your distribution, you may also need to install lua development libraries:
sudo apt install liblua5.4-devAfter installation, reload & restart Prosody.
Prosody’s logs are stored in
/var/log/prosody/prosody.log
Enjoy your server!
Once journalctl is not showing any errors, then your server is fully on and operational! You should be able to chat, share files, create rooms, and generally do everything you would expect from a solid text-based chat server.
You may also have some very limited degree of voice & video chat support; you will likely be able to open voice chat with devices on your local network. For more robust support, you will need to run a STUN/TURN server to help connect to other clients directly through your server.
Debugging
Steps to debug common issues
General tips
- Make sure to check the command line glossary if you need help understanding the commands.
More verbose logging for Prosody
If you are debugging Prosody, it can be helpful to enable debug logging:
log = {
        debug = "/var/log/prosody/prosody.log";
        error = "/var/log/prosody/prosody.err";
        { levels = { "error" }; to = "syslog";  };
}
Problems with IPv6
IPv6 support has a number of issues out of the box. These are largely due to the somewhat scattershot support for IPv6 globally - A further tutorial is coming (it’s good to do), but in the meantime this guide is focused on getting features up, running, and stable.
However, if you are working on IPv6 support, one piece of information that’s good to know: DigitalOcean does not always bind the IPv6 address correctly to the host. This may require messing with something called “netplan”, (I managed to get it working on one host with this), so best of luck.
Set up STUN/TURN server
Incomplete, collapsed for now.
Run:
sudo nano /etc/prosody/prosody.cfg.luaThis file is somewhat long, but is almost entirely comments explaining how to use this file. Somewhere in the middle, you will see a section labeled “Certificate file”, underneath which is a section labeled “Private key file.”
Add the line
cert=/etc/letsencrypt/live/yourdomain.com/fullchain.pemto the certificate section and
pkey=/etc/letsencrypt/live/yourdomain.com/privkey.pemto the private key file section. Again, make sure to edit the domain.
Under the section titled “Specify the address of the TURN service (you may use the same domain as XMPP),” add:
turn_external_host = "yourdomain.com"
turn_external_port = 3478
turn_external_secret = "some_long_gibberish_secret_key_that_does_not_need_to_be_memorable"
Installing Coturn
Coturn provides a STUN/TURN server to help voice calls (and other connections) connect, even if your device is on an unusual network (like a cell tower) that does not allow direct connections.
STUN (Session Traversal Utilities for NAT) provides tools for finding an IP address the client is capable of talking to, and TURN (Traversal Using Relays around NAT) will route data through your server as a falback if needed. Without this installed, calling will be extremely unreliable to connect.
Time Travelling Unicorn’s Journal
Feb 14, 1999
My name is Tufts, the Time Traveling Unicorn From The Future, and this is my logbook. By the time you receive this message, the robot wars will have begun. You will need to save the future from the satanic billionaire pedophile cabal, and as you know, the only way to win against advanced artificial intellegence is to send a unicorn back in time to search for ancient alien technology.
When the world ended in 2000, the timeline cracked. A portal opened, leading straight to the faraway land of 1999. To save the future, we found a way to step through it.
People here are finally waking up to the potential of the internet. Everyone is talking about “seeing The Matrix”, and the engineers here are preparing for the Y2K superbug. But that’s the first thing that bother me - As I remember it, Y2K never happened. So where did it go?
I suspect, but cannot yet prove, that your timeline has already started moving backwards. Software is getting worse, not better. There are years missing between you and 2020. The little holes have started creeping in - I remember reading the Berenstein bears, and watching Loony Toons on TV. Is this all caused by some shadowy complex trauma?
No. It’s the millenium portal.
At this rate, the entire internet will be enshittified surveillance state within a year. The only thing that can save us is 1990s VoIP telephony. Are you a bad enough dude to save the internet?
(Wondering what this is? Read about Tufts here.)Attached are blueprints for a technology called XMPP. Assemble them in your timeline, you have just this shining moment in time to escape the AI deep state. I’ll try to talk to you soon. If I’m not back before Overwatch II becomes Overwatch I… well, good luck. You’ll need it.